A prewedding location is not just “a nice place for photos.” The right location will determine the mood of the images, your comfort during the shoot, the total cost, and how smoothly everything runs on the day, from permits and access to weather conditions. To get the best results without unnecessary stress, here are some practical tips you can use as a guide.
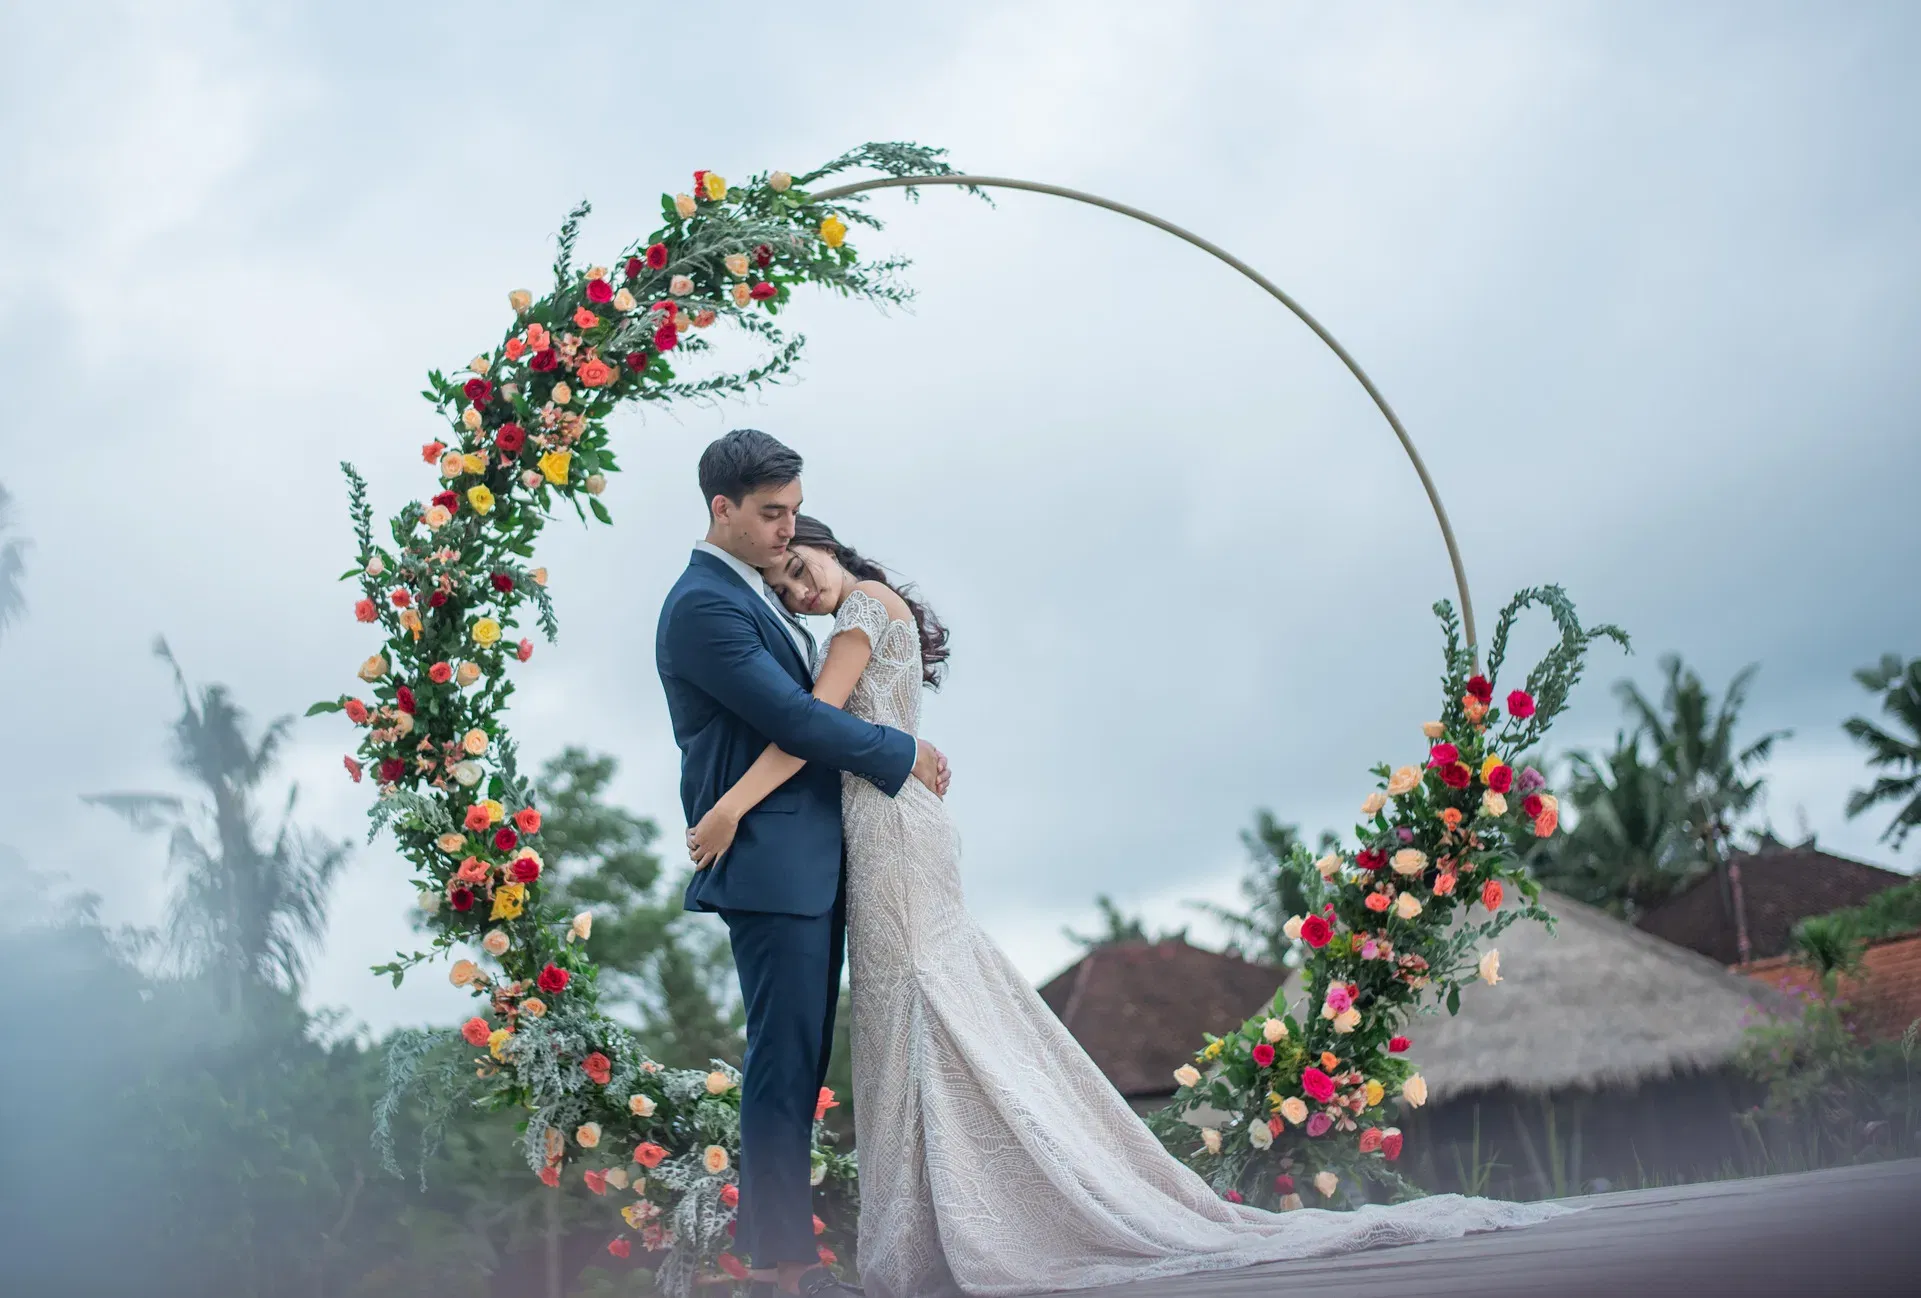
First, decide on the concept and story you want to convey. Before browsing locations, agree on a clear concept. The best location is one that supports your story, not simply one that is currently trending. For example, an elegant and classy concept works well in heritage hotels, colonial buildings, museums, or ballrooms. A nature and romantic concept fits tea plantations, pine forests, lakes, beaches, or savannas. An urban modern theme suits cityscapes, rooftops, downtown areas, or parking structures with an industrial feel. A casual and personal concept can be done at home, in your favorite café, a bookstore, or a minimalist studio. A traditional or cultural theme is ideal for palaces, traditional villages, or areas with local architecture. When your concept is clear, it becomes easier to avoid locations that look nice but do not match your outfit and photography style.
Next, match the location with your personality, not just its aesthetics. The ideal location is one where you can truly be yourselves. Ask whether you feel more comfortable in crowded places or prefer something private. Consider whether you enjoy nature that requires long walks or prefer easy access. Think about whether you are comfortable posing in public or would rather be in a more enclosed setting. If you tend to feel awkward easily, a quieter location or a studio will usually result in more natural photos.
You should also consider access, travel time, and energy. A distant location may look spectacular, but it can increase costs and drain your energy. Think about how many hours the journey will take, whether you need trekking, boats, or a 4WD vehicle, whether there is nearby parking, and whether there are facilities for changing outfits and doing makeup touch-ups. Check if there are proper restrooms as well. Many prewedding sessions fall short not because of the photographer, but because the couple is already exhausted before the shoot even begins.
Pay attention to natural lighting, as it plays a major role in the final result. Golden hour is the best time for photos. Morning golden hour, around 6 to 8 a.m., gives soft light, a quieter atmosphere, and cooler temperatures. Evening golden hour, around 4 to 6 p.m., creates warm and dramatic tones but is often more crowded. It is best to avoid shooting outdoors between 11 a.m. and 2 p.m. because the light is harsh and can make you tire quickly. Discuss with your photographer whether a specific location is better in the morning or evening depending on the direction of sunlight.
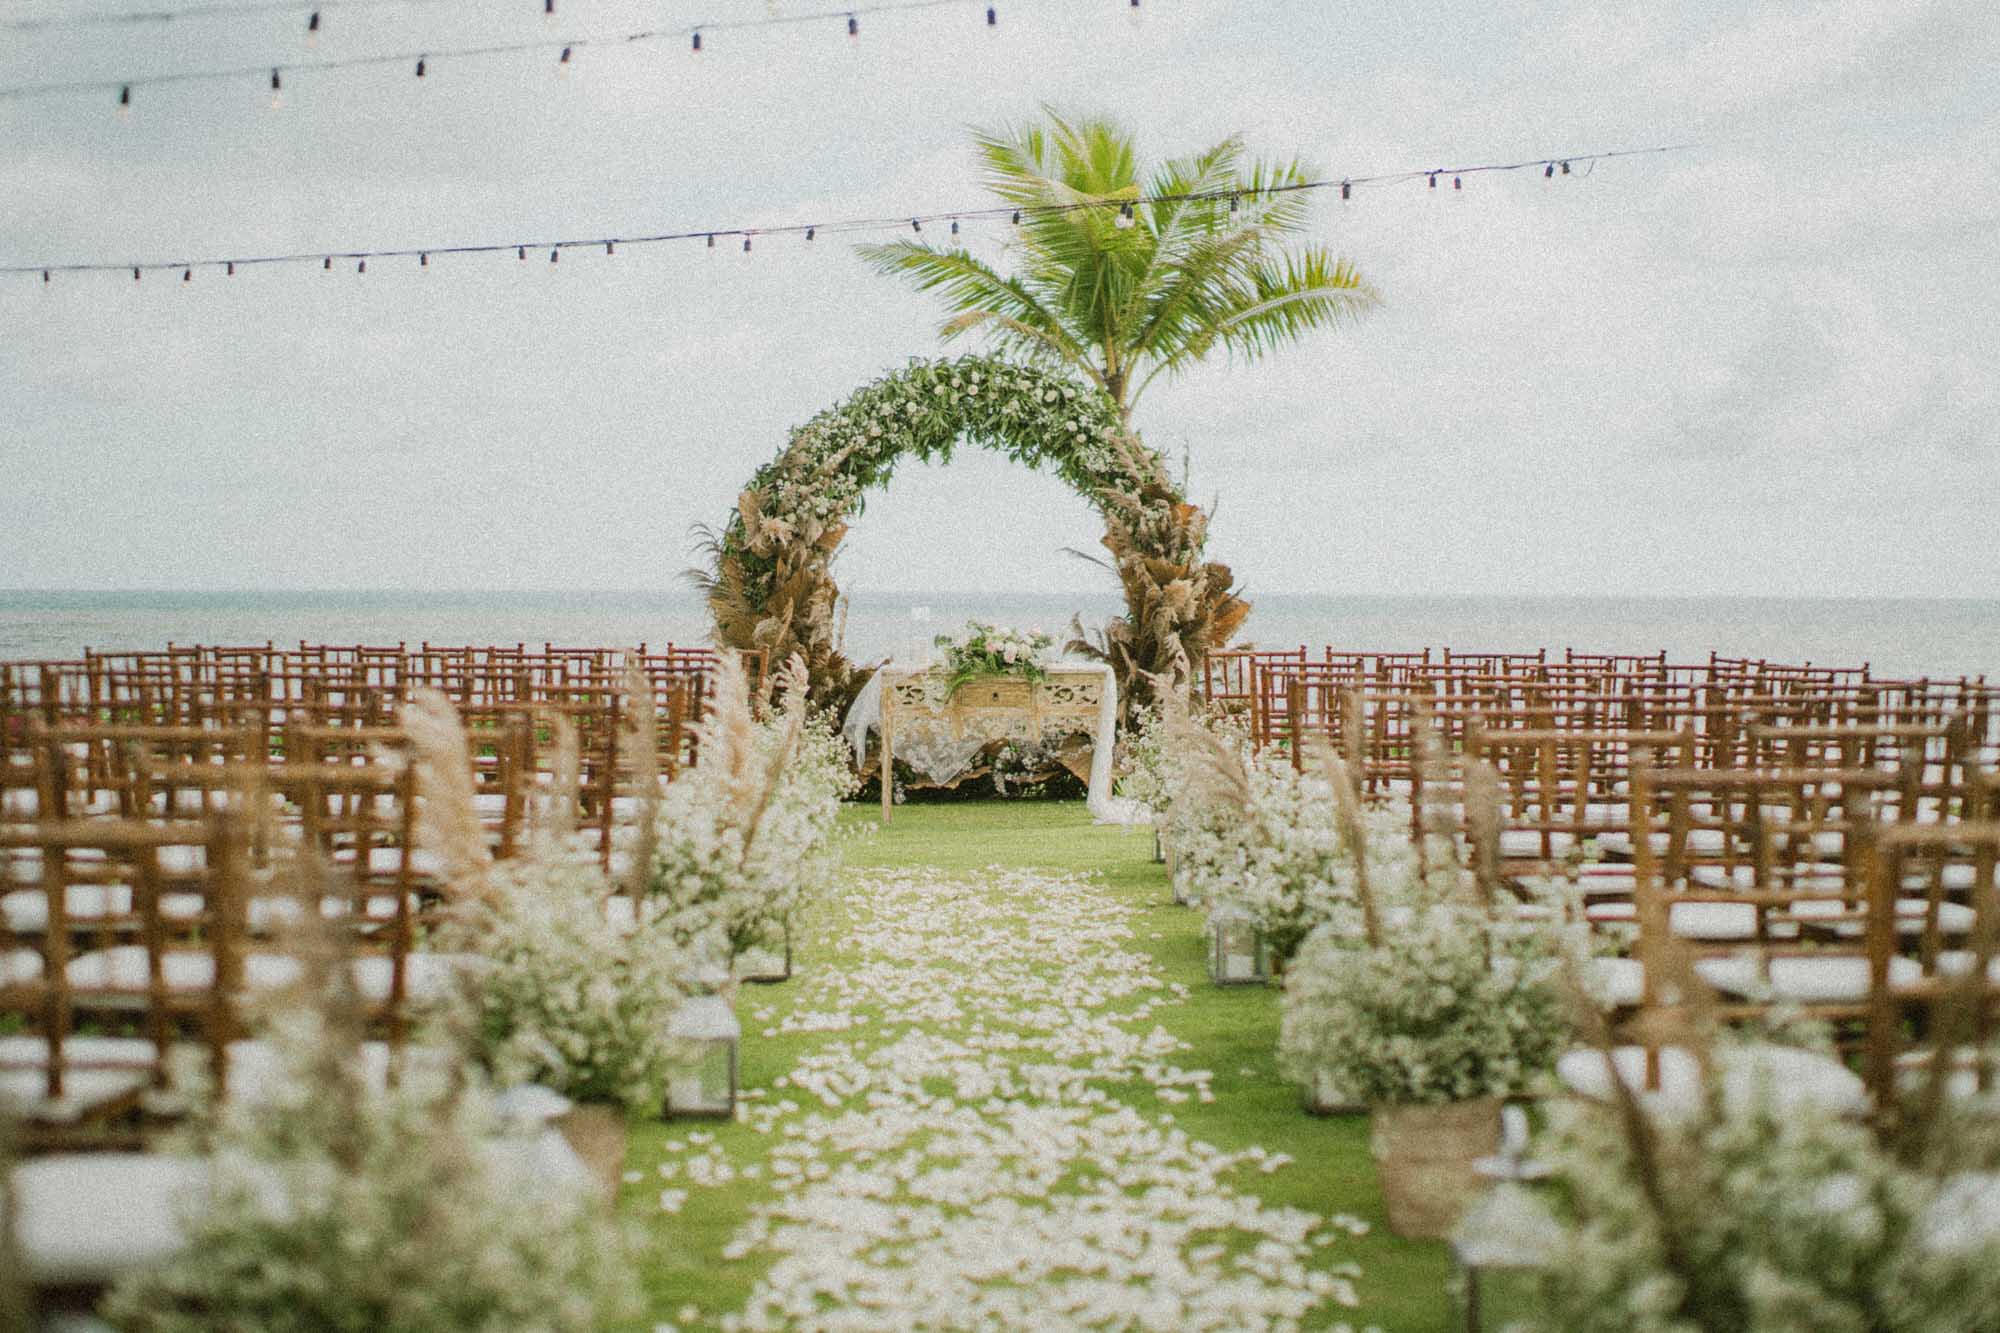
Permits and location rules are also crucial and often overlooked. A beautiful location without proper permission can cost you both time and money. Make sure you know whether a permit or rental fee is required, whether you are allowed to bring props such as chairs, flowers, or smoke bombs, whether drone usage is permitted, whether there is a time limit for the shoot, and how many outfit changes are allowed. It is helpful to ask your photography team to assist with checking these details, as they usually have prior experience.
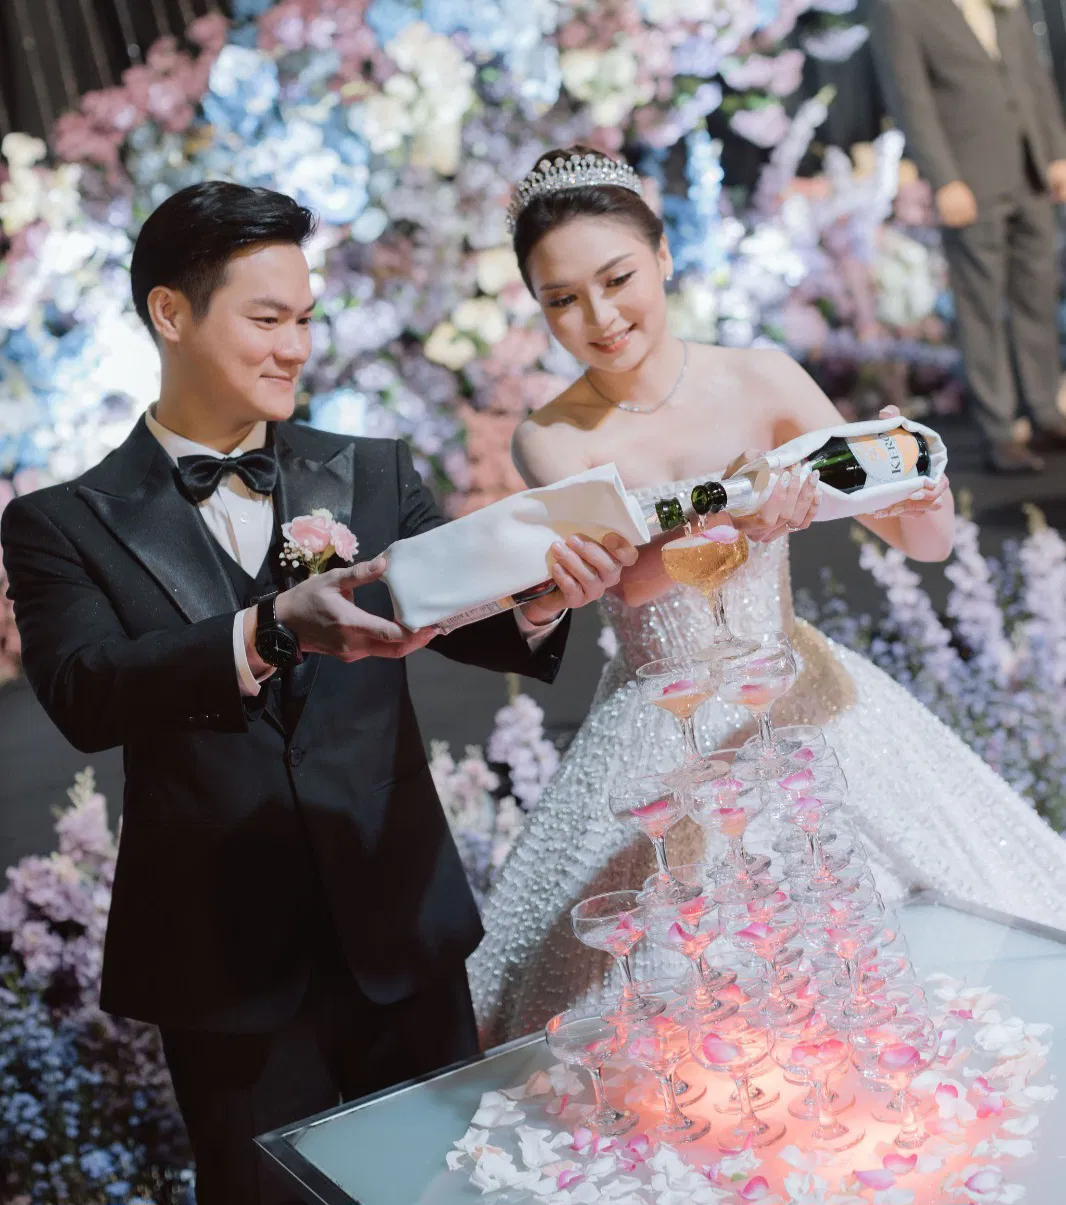
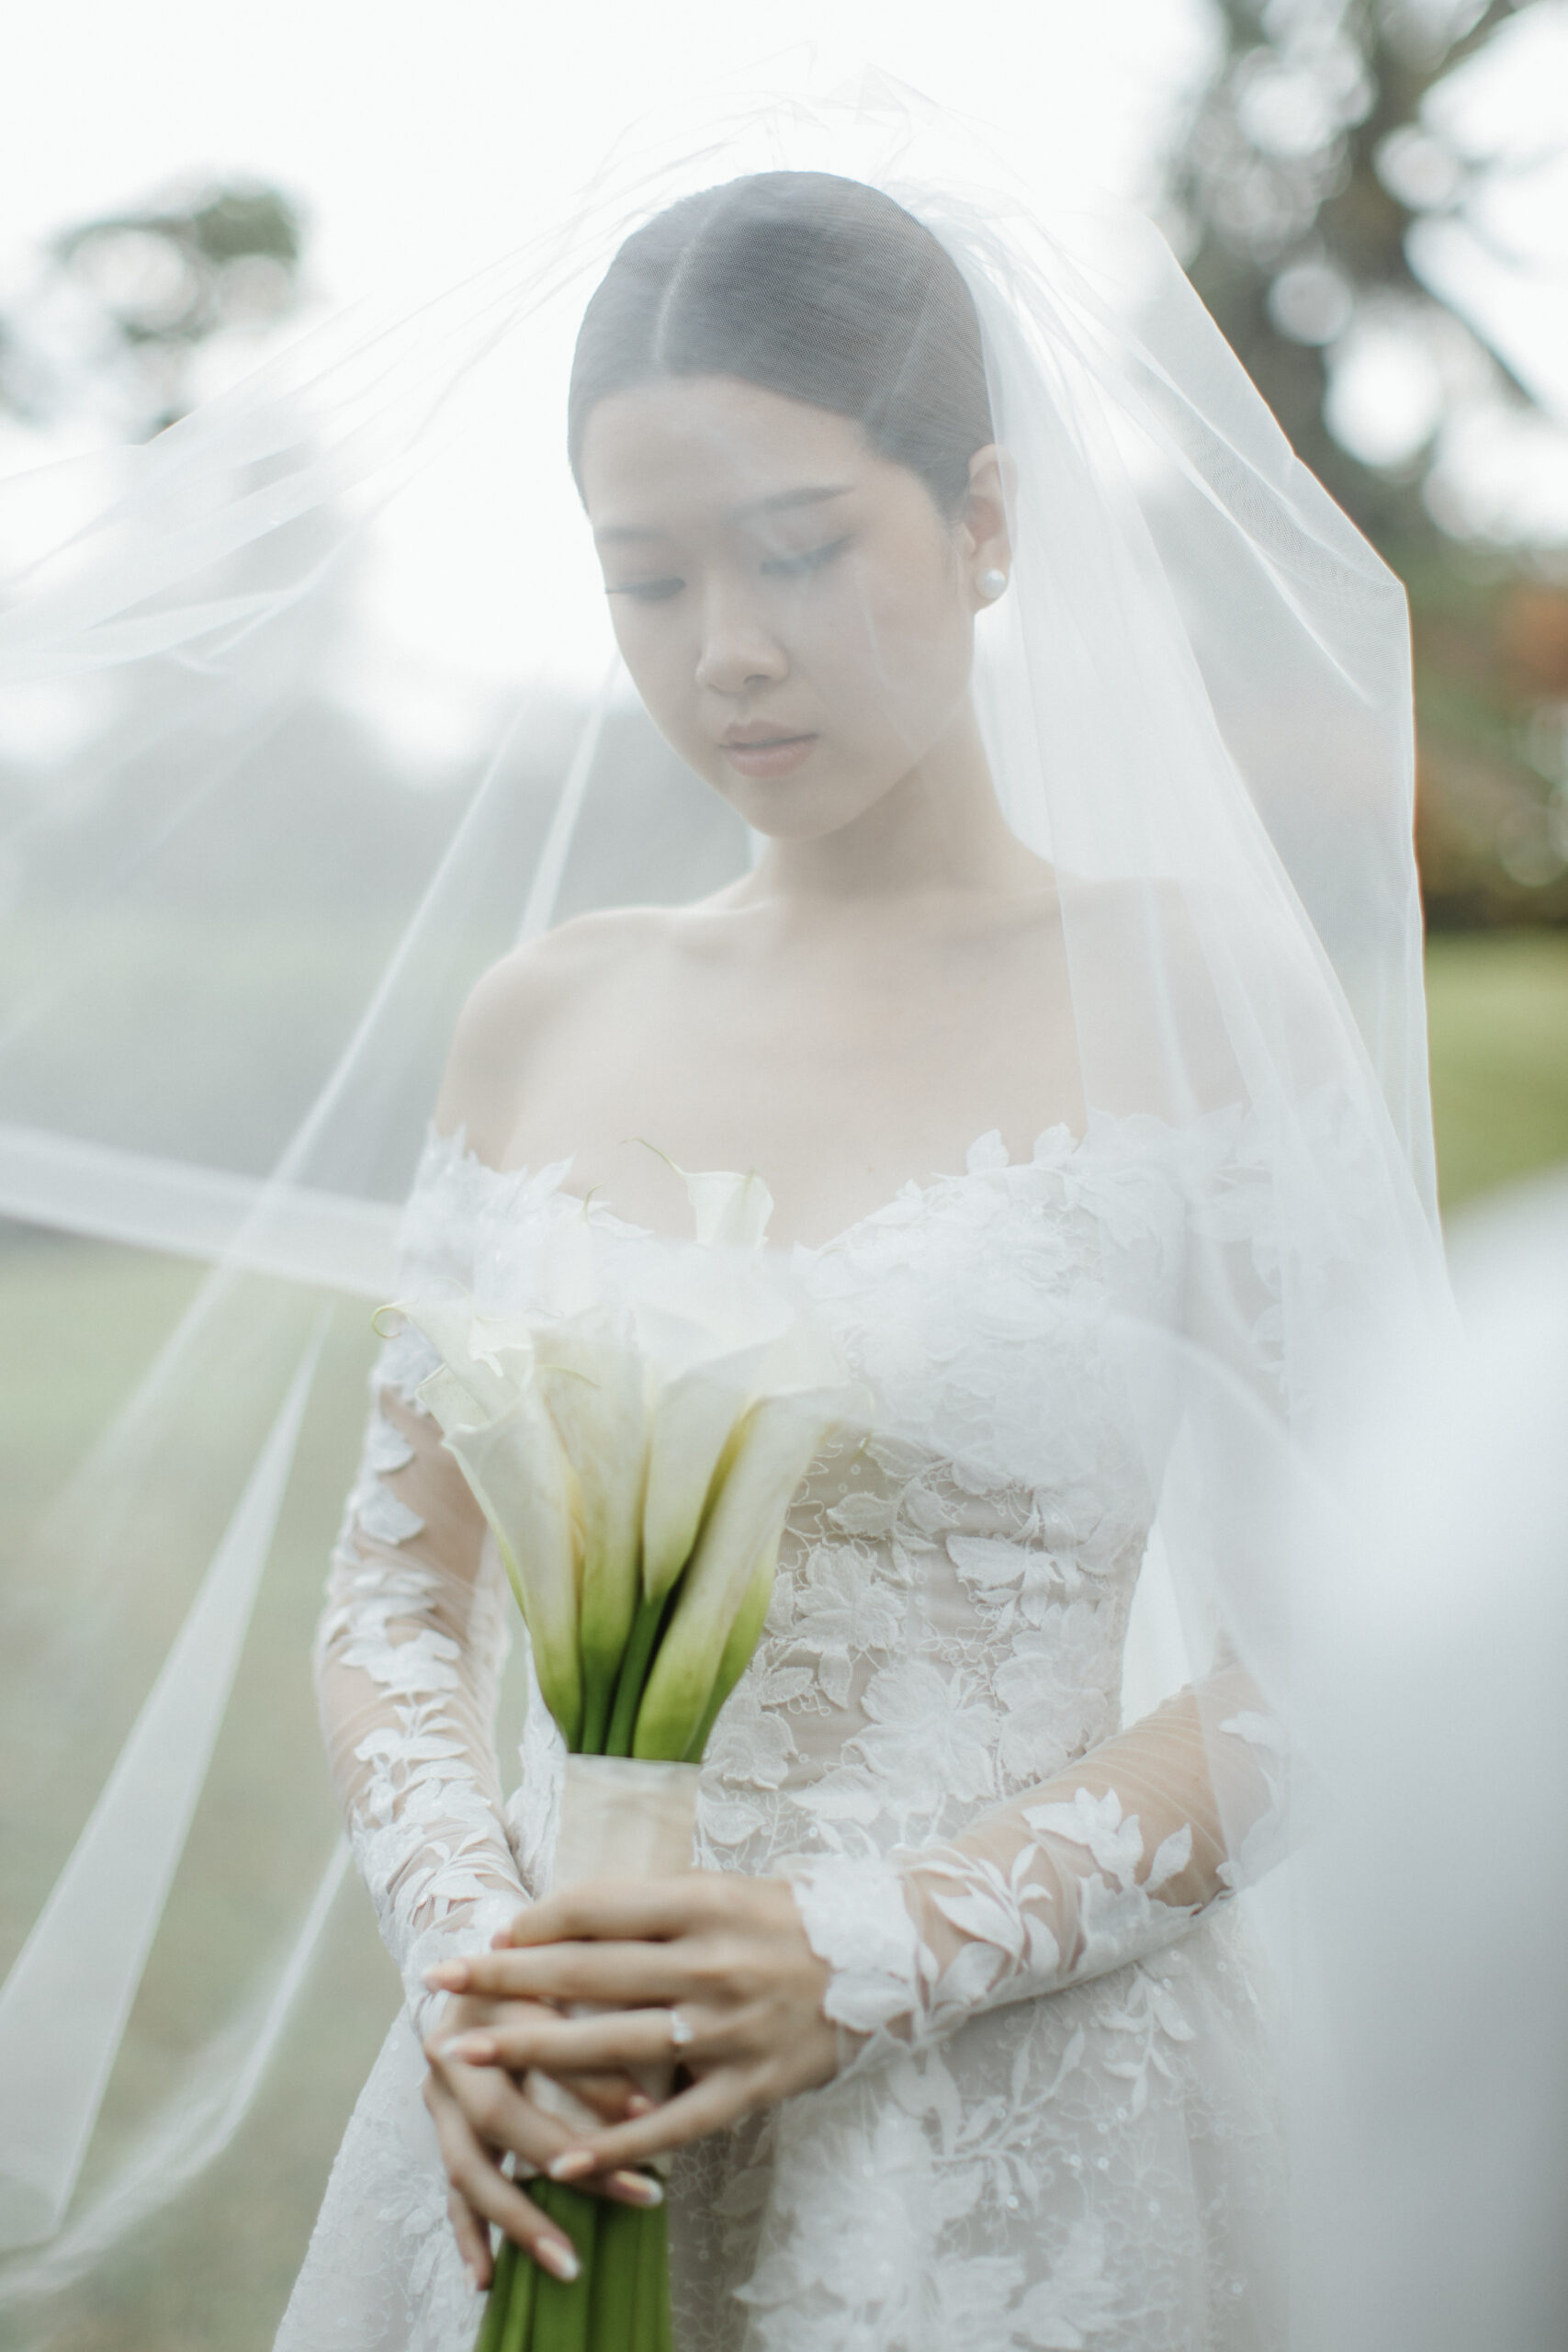
Another important factor is matching the location with your outfit and styling. The right location can make your outfit look more elegant, while the wrong one can have the opposite effect. Traditional outfits like kebaya work well with heritage buildings, pavilions, or classic gardens. Formal gowns suit ballrooms, hotels, classic buildings, or high-ceiling studios. Casual outfits are perfect for beaches, cafés, city streets, or home settings. For extreme outdoor locations, choose simple outfits that allow easy movement and avoid overly long or heavy fabrics. If you want two different vibes, consider choosing two nearby locations or one location that offers multiple distinct spots.
Choose a location that offers a variety of backgrounds, not just one attractive corner. The best locations provide multiple shooting options within one area, such as gardens, corridors, staircases, large windows, textured walls, and open views. This saves time, gives you more photo variations, and provides flexibility if the weather changes.
Weather is another factor you should not ignore. Outdoor locations can be beautiful but also unpredictable, so always have a backup plan. Prepare an alternative date if possible, look for indoor spots at the same location, or have a nearby studio as a backup. You can also prepare clear umbrellas, light raincoats, or rain-themed props if you want to create a dramatic effect. During the rainy season, mountain and beach locations carry higher risks such as thick fog, sudden rain, and strong winds.
It is important to calculate the total cost, not just the venue fee. A location that seems free can become expensive due to additional expenses. These may include transportation, fuel, tolls, accommodation if an overnight stay is needed, meals for the team, permit fees, entrance tickets, special vehicle rentals like jeeps or boats, and porters or assistants to carry equipment. Ask your photographer to provide a full cost estimate to avoid unexpected expenses.
Finally, test the location through a short survey or check the real conditions if possible. Spend about 30 to 60 minutes to observe the crowd at your desired time, check changing areas, test the signal for coordination, evaluate the lighting direction, and assess the safety of your belongings. If you cannot visit in advance, at least ask your photographer to show actual photos from previous shoots at that location, not just promotional images